
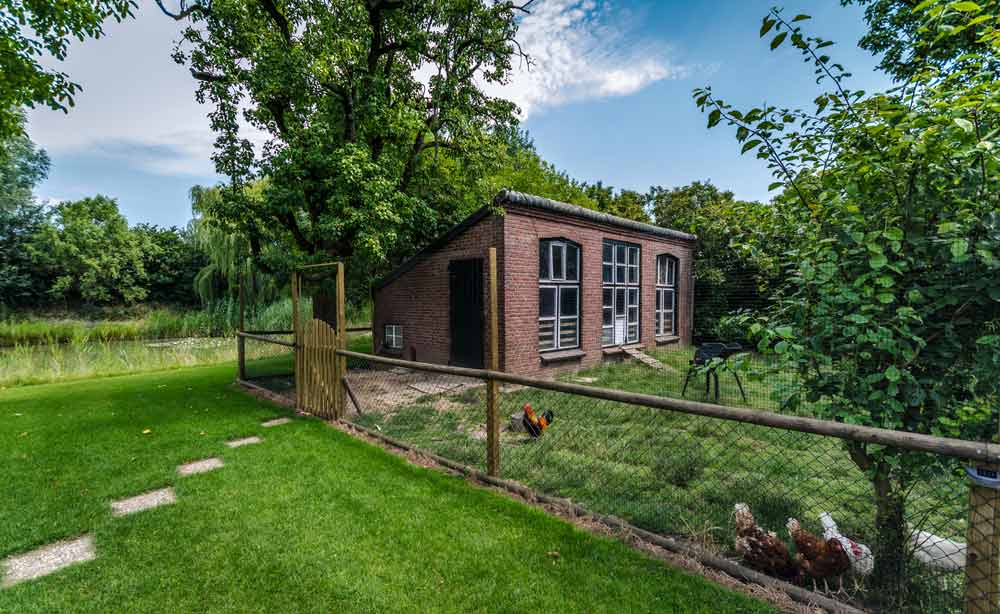
While your brood may be safe from predators while roosting during the night, you still need to ensure maximum protection during the day. You shouldn’t keep your chickens “cooped up” as they need their daily dose of exercise and fresh air, so it’s important that you build a chicken run where they can roam freely.
However, if you raise chickens in a pallet chicken coop in your backyard or similar with a quality roof, you need to ensure that this run is safe from all kinds of predators during the day. Not only that, but you also need to keep your yard and landscape safe from your chickens. Otherwise, your beautiful garden and lawn will be a victim of endless pecking.
All in all, an ideal and safe chicken run keeps your hens inside while keeping predators out. However, the real question is, “How do you build a chicken run?” To answer that question, read on for the ultimate guide to building your very own chicken run.
Initial Considerations
When building a chicken coop with a run, there are a couple of considerations you need to make. These include:
Dimensions
First, you need to determine the size of your run. Generally, the size of the run depends on the size of your coop design and your brood. Most experts recommend that you provide about 10 feet square for each chicken. If you have five chickens, then you need to build a run that is at least 50 square foot. Don’t forget to keep a sufficient height so your chickens can perch and roost high up during the day.
Supplies
After you have determined the dimensions, you need to search for the materials. Runs are generally made up of wooden boards and metal screens. Like with the chicken coop itself, you can try looking for wooden pallets around the neighborhood or visit your local hardware store. In addition, pick out a strong metal mesh that is both fox- and dog-proof.
Location
Consider which side of the coop you wish for your run to be. It depends on whether you are raising backyard chickens in a tight area or you have lots of space available on your lawn. You can try attaching a small door to your coop that leads to the run. This way, your chickens can have free access to the run and the coop during the day.
They may choose to spend the winters inside the chicken coop and only occasionally use the run. Also, you can try positioning the run under a small tree so your hens can easily perch on it. Another consideration is the amount of sunlight. If you live in colder areas, you may need your run to be in direct sunlight at all times to keep your chickens warm.
What You’ll Need
You will need the following materials, keeping in mind that the quantity of the material depends on the size of your run:
- 4 x 4 wooden fence posts
- 2 x 4 wooden boards
- Welded wire fencing
- Screws
- Hole digger
- Staples
- Saw
- Drill
- Measuring tape
- Shovel
- Hammer
- Level
Step-by-Step Guide
Step 1
Start by staking out your area and allocating positions for your wooden fence posts. Generally, we recommend that you keep them equidistant (about 6’ is highly recommended). Also, ensure that they are all the same height.
Place two extra posts where you want your gate to be. The distance between these posts depends on the width of your selected gate. You can choose to buy a gate or build one yourself.
Step 2
Next, dig out holes for the fence posts and place them in. You can try using concrete to fill the holes. This way, your posts will stay secure. You can use a level to ensure these posts are all straight.
Step 3
Use a 0.5” welded wire fence to ensure that all predators stay out. Simply wrap the fence around the fence posts in a border, leaving out the area for the gate. Use U-shaped nails or staples to attach the fencing to the post. You can use glue and additional screws to secure the fencing.
In addition, try digging a trench around the perimeter before placing the fence inside. This way your fence will go deeper into the ground and will prevent predators from digging under it.
Step 4
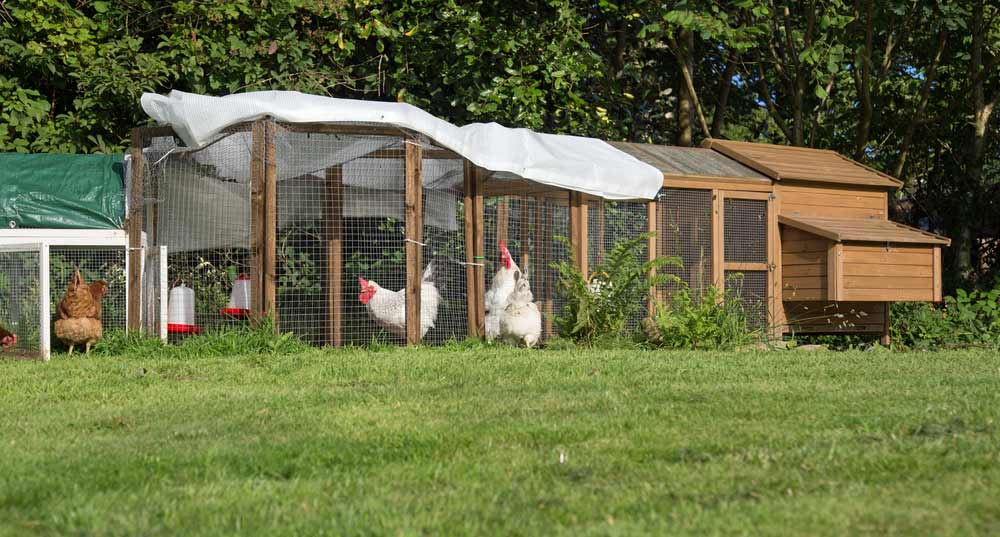
After covering the sides, it’s time to cover the top. Use the same wire mesh and run it over the roof of the perimeter. Secure it to the fence posts in a similar manner. Some people choose to leave it open, but an open run is often an open invitation to aerial predators such as eagles and hawks.
Step 5
Furthermore, add wooden boards on the top, middle and bottom of the posts to add stability to the frame. This way, your fencing will remain secure, sandwiched between the posts and the wooden boards.
Step 6
You can also add a mesh floor for added protection against the predators. However, place some softer material on the top to ensure your chickens’ claws do not get stuck in it.
Step 7
Attach a door between the two posts you designated for it. You can either buy a metal or wooden door or make one for yourself. Making one is quite simple and all you need are wooden boards. Whatever you choose, it is crucial to ensure that the door has a spring to it.
This way, if you leave the door open, it will shut on its own, thus keeping your chickens safe inside.
Final Thoughts
Building a chicken run is a relatively simple task, especially if you’re handy with wood and metal. However, it is crucial that you test it out for any weaknesses. If not, your chickens can get attacked by a variety of different predators or your backyard chickens could easily escape.
If you leave out a mesh roof, hawks may often swoop in, but if you carefully design and build your run, no predator will ever be able to get their hands on your brood. This all has to be considered in the chicken coop plans. To add an element of fun or attractiveness, you can choose to paint the run and add various obstacles for your chickens to enjoy. Head out to the store now and grab your supplies—it’s time to get building!