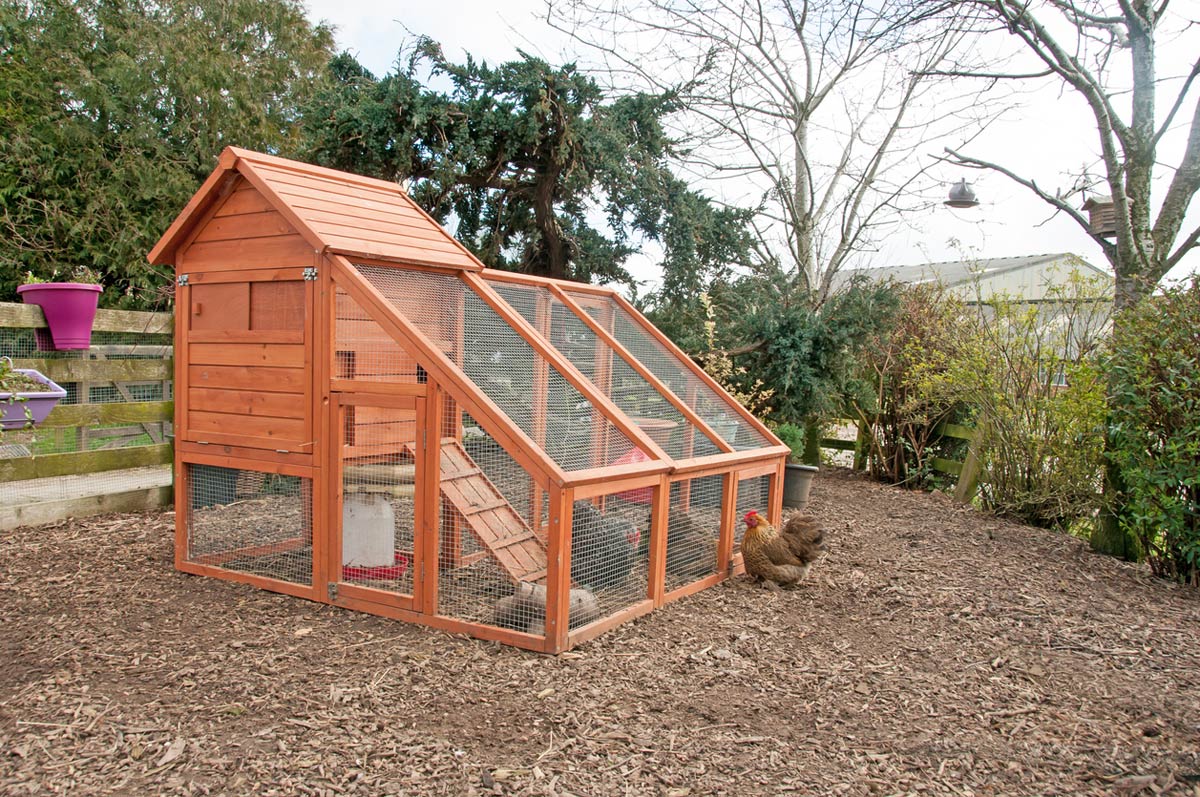
Looking at the market, you might be dissuaded to buy a new chicken coop due to the sky-high prices. The more affordable ones are not as durable and they can fall apart within a few months. So, why go for high priced, cheap coops, when you can build your very own for practically no money at all if you build a chicken coop out of pallets?
Definitely, you can make your own chicken coop from scrap materials lying around a workshop and pallets. Since you have the decision to pick out the materials, you can choose sturdy ones to help the coop last longer. Are you ready for a little chicken coop DIY?
Materials to Build a Chicken Coop Out of Pallets

Here is a list of all the materials you might need for a fully functional chicken coop:
- Pallets
- Hinges
- Scrap wood
- Metal sheet for the roof
- A latch for the door
- Chicken wire
- Screen wire
Tools
- A drill
- Screws
- A tape measure
- A hand saw
- A level
Building the Coop
Here’s a step-by-step guide on how to build a chicken coop using pallets.

Step 1: Hunt for the Materials
The first and most important material you’ll be needing is pallets. You can take them apart and use them in tons of creative and constructive work. Mostly, you can find them all around town with local businesses such as fruit and vegetable sellers.
Determine the size of the pallets you want. Specifically, this will help you in calculating the exact amount of pallets you need. It’s highly recommended that you get more pallets than you need in case of calculation mistakes.
In general, 2×4 pallets are quite sufficient. You might need to stack them up if you want to be able to walk in the coop or make a sturdy pallet wall.
You can almost always get some scrap wood out by workshops as well as junkyards. Finally, ensure that the wood is dry and that it isn’t too vulnerable.
Step 2: Plan the Foundation
Plan out the exact perimeter of where you want the coop to be. This will further help you in determining how many pallets you need. Most coop owners opt for a rectangular area of their choosing. Go for a larger area than you think you need in case you might want to add more chickens later.
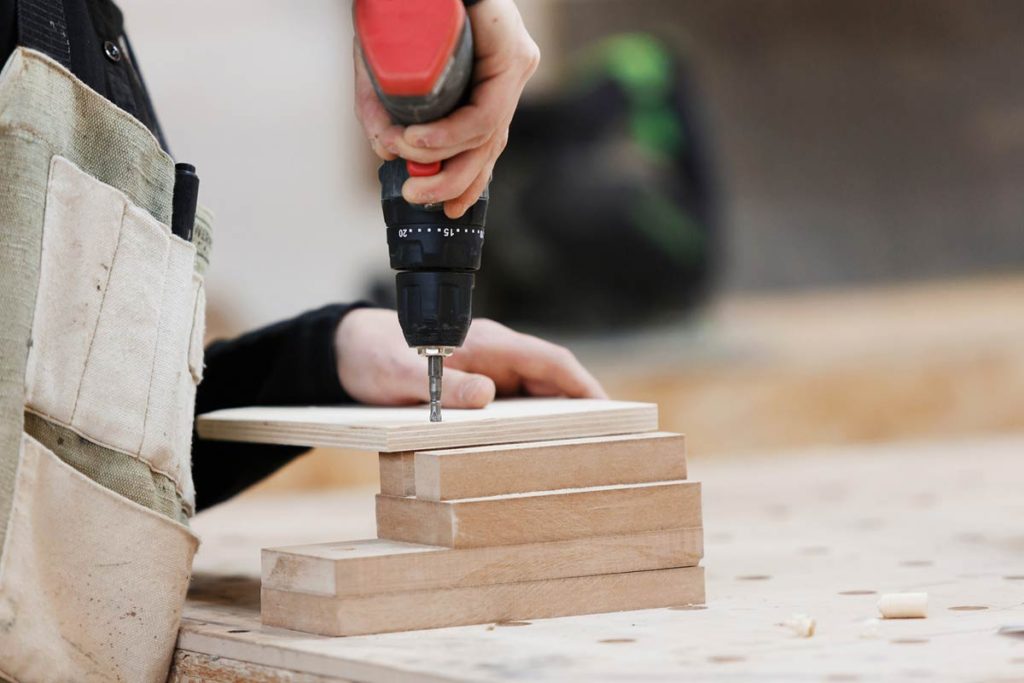
Screw the pallets together using your drill machine and create a solid pallet base. If the ground is not level, set up cinder blocks underneath at the same level. Finally, check with the level to ensure that all the pallets are straight to true for your hens.
Step 3: Build Walls
After you have made a solid floor, start screwing pallets onto the wooden floor vertically. For best results, try to use pallets that are the same size. This will help you gain uniformity throughout the coop. If you don’t, then no need to worry. Simply screw on some old pieces of scrap where there are gaps left.
After the first row is sturdy and strong, go for the second layer. Moreover, add wooden pallets to the top of the first layer and screw them together. However, you can skip this step if you do not want to make it a walk-in coop out of pallet walls.
Make sure that it is tall enough for you to easily stand up, even if it’s a small, clean area.
Step 4: Add a Roof
The next step is to obviously add a roof that will keep your hens warm and dry. You can let your creativity run wild with this step. Simply, an old metal sheet can be used as a roof. Simply place it on top of your little coop.
Another great idea is to screw pallets similar to the floor and screw them on the top. You can then lay straw, hay, or plastic bags at the top for complete insulation. This is actually a much better alternative than the metal roof as it will stay secure in windy weather.
Whatever you choose, just ensure your chickens are safe from the cold and rain.
Step 5: Add a Front Door
After this, add a front door. First of all, use a pencil and a tape measure to mark where the chicken door should go on your coop. Then, use a handsaw or a power saw to cut out the front door. You can buy a door or use a second hand one from any hardware store.
Another way is to make your own using some scrap pieces of wood. Take four pieces of wood and cut them into rectangles to make your door frame. Also, you can use chicken wire to create a wire door. Add hinges to one side and a latch and handle to the other. Lastly, screw on the hinges to the inside of your coop.
Step 6: Add a Floor
Going further, you need a place for your chicken to walk on. Generally, you can try using scrap pieces of plywood wood to make a solid foundation floor. Additionally, try adding mulch to the floor. This will help your chickens in keeping warm.
Another option can be to use linoleum as it is so easy to clean.
Step 7: Protection
For the walls, you can try screwing chicken wires to make for a well-ventilated coop. However, if it gets too cold, fill in the gap with more boards from other pallets. You can try cutting out a few windows that can be shut for better ventilation.
On the other hand, if there is the threat of predators, add a fence perimeter. This will not only keep any predators away but will also keep your chickens safely inside.
You can try adding a tarp to protect from wind or rain.
Step 8: Add Décor
During this stage, you can let your imagination run wild. This can include painting your chicken coop made of pallets. Additionally, you can keep it a traditional red and brown or you can add a pop of color to it.
Of course, you need to add some functional elements as well including nesting boxes, roosts, etc. Also, you can use scrap wood to build roosts as well. Alternatively, you can simply use old milk cartons or fruit cartons instead.
Bottom Line
These steps can help you build a chicken coop out of pallets without wasting too much money. With the proper tools, you can end up with the sturdiest coop at the most affordable prices. Finally, let’s not forget how fun it is to outsource and unleash your creativity. So, ready to give it a try?

