
If you’ve been keeping chickens, then you know how addictive this hobby can get! You may have started out swearing that it’s just going to be four chickens, but hey, who doesn’t experience the spring craving to get ‘just a couple’ more chickens?
Soon enough, you find yourself looking to add new breeds to your dozen chicken flock! Unfortunately, adding new chickens to your flock isn’t always a smooth ride, especially if the chickens have already established their pecking order.
So whether it’s your first time introducing chickens or you’ve learned the hard way that adding new chickens to a flock isn’t as simple as it sounds, this guide is definitely what you need to make the process as trouble-free as possible!
What’s a Pecking Order?
Before we dive into action, it’s a good idea for you to understand what exactly is the pecking order I mentioned above, so you have a better knowledge of what you’re dealing with.
You see, chickens are social animals, and they determine the hierarchy of their society by pecking – hence the name ‘pecking order‘.
At the top of the hierarchy, you’ll find bigger and stronger chickens that are generally more aggressive to sort of “bully” other chickens and establish their higher power status. If you own a rooster, then he’ll be at the very top of the pecking order. If not, a hen will dominate the rest of the flock and climb to the top.
You can probably tell by now how adding a new chicken would be problematic because it doesn’t have a spot in the hierarchy. If you don’t do it properly, other chickens will try to assert their power by pecking, and the new chicken will basically get beat up by the entire flock!
How to Add New Chickens to Flock?
Now that you’re familiar with how your flock works, here’s a step by step guide to adding new chicken to your flock.
Isolate the Newbies
If you want to introduce new chickens to an existing flock, the very first step should be isolating the new chickens to make sure they aren’t sick and won’t spread diseases or infections to your healthy flock.
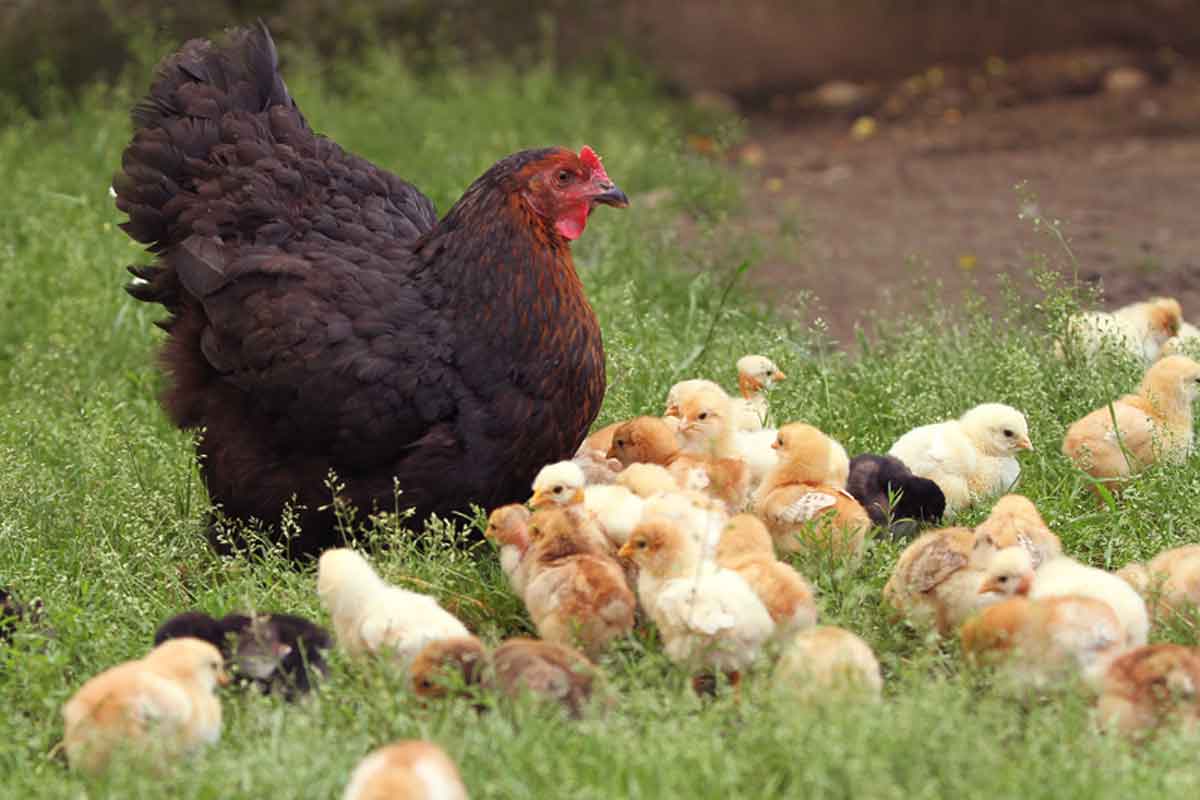
Isolation isn’t necessary if you’re raising chicks because you’ll be keeping them inside a separate enclosure most of the time anyway till they’re big enough to fend for themselves. (If you let a strong hen hatch her own eggs, she’ll protect her chicks and you won’t have to do any introductions)
This step should last around a couple of weeks and up to one month, so you get enough time to carefully examine your new chickens and treat any disorder they may have. Some key signs of illness you need to look for include shriveled comb, scaly legs, fluid from the eyes, blocked nostrils, and lice or mites.
- Tip – take advantage of the isolation period and supplement the water of your new chickens with minerals and feed them well so they become fully fit before meeting the flock.
Ease the Introduction
After isolating your new chickens and making sure they’re of suitable size, you should still keep them separated from your flock. If you suddenly just place new chickens with your existing flock, you’ll cause unnecessary fighting and things can get really ugly (the flock could actually kill the new chickens).
So, don’t try to rush the addition. A better approach would be separating the new chickens from your flock in a way that allows your flock to see but not touch the new chickens.
You can do this by installing a temporary fence or a chicken tractor next to the existing flock. This will help both groups get familiar with each other without hurting each other. Don’t forget to make sure the fencing is secure!
How long you should keep this up depends on how your chickens are behaving. But as a rule of thumb, one week should give the existing flock plenty of time to get used to having your new chickens around.
Begin Physical Introduction
The time has come to give your chicken a proper, physical introduction. If you’re lucky enough, you’ll only have to do this one time and your chickens will be fine. This is the case with more laid back breeds such as Buff Orpington and Wyandotte.
Otherwise, it may take a couple of trials before you can succeed in physically adding the new chickens, especially with more territorial breeds such as Rhode Island Reds or Silkies.
If your flock is free-range, then it’s best if you first let out the new chickens, wait for a few minutes, and then let your existing chickens join the new chickens to free-range.
The same concept applies even if your chickens don’t free-range. You should place the new chickens in the coop first and then let your flock out to greet them.
Make sure there’s enough room in the coop to accommodate all the chickens before adding the new ones. If possible, move your existing coop to a new spot so that both the existing and the new chickens are starting on neutral grounds.
- Tip – bribes and distractions are totally welcome during the physical introduction step. Have bales of straw or some treats ready to keep your chickens busy pecking on them instead of each other.
- Tip – avoid adding just one chicken to an already established flock. It’s best if you work in pairs and introduce at least two new chickens so no one has to endure all the bullying alone.
Observe the Flock
Finally, you want to observe how the flock and the new chickens are getting along. It’s normal for there to be some hassle and scrapes at first, remember, this is how chickens determine the pecking order. You should only interfere to prevent serious injuries.
Also, you should notice whether or not the new chickens will follow the existing chicken into the existing coop. If this happens, then great, but if the newbies try to go back to their old tractor, let them be.
Then at night, relocate the new chickens into the existing coop, they should be fine from here on.
Wrap Up
There you have it, a guide for adding new chickens to your flock. Remember, patience is key for a successful introduction of new chickens.